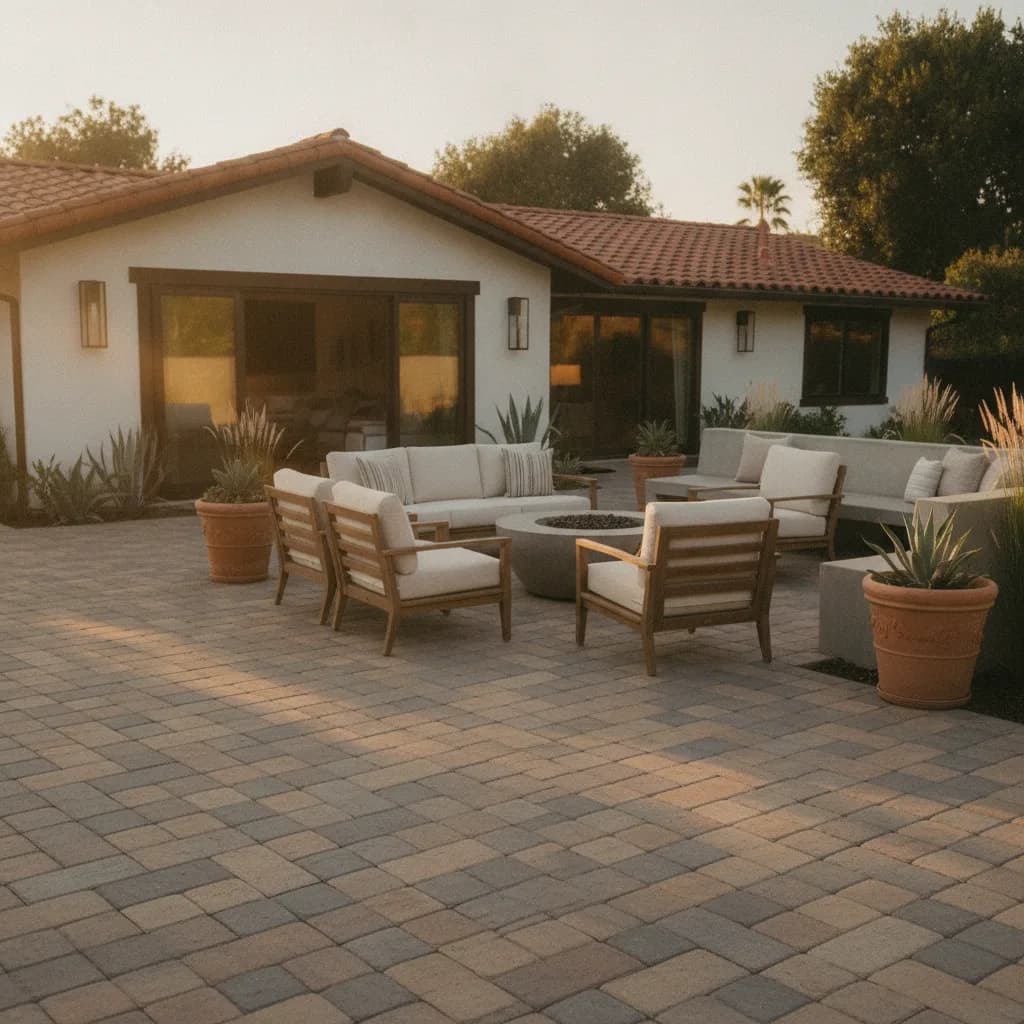
A paver patio can transform a simple backyard into a functional and inviting outdoor living space. But before you start choosing colors and patterns, it’s important to understand the potential investment. The total paver patio cost depends on much more than the price of the pavers themselves. Factors like your property’s specific conditions, the complexity of the design, and the scope of site preparation all play a significant role in the final price tag.
This guide breaks down the costs associated with installing a paver patio in California. We will explore how material choices, site challenges, and project size influence the budget. We will use hypothetical planning scenarios to illustrate these factors, helping you ask informed questions and compare quotes from qualified contractors. Remember, a detailed quote is a project plan, and understanding each component is key to a successful installation.
In a Nutshell
Planning a new paver patio involves separating the cost of the visible surface from the essential groundwork that supports it. A successful project begins with a clear understanding of the full scope, from initial excavation to long-term care. While online estimators can provide a starting point, a formal quote from a contractor will account for your specific site conditions.
- Planning Scenario Scope: Installation of a new paver patio on a clear, relatively level area with unobstructed access for workers and small equipment.
- Key Assumptions: This guide's hypothetical costs assume no major demolition of existing structures, no complex drainage systems required, and no need to reroute utility lines. The base preparation is standard for stable soil conditions.
- Excluded Work: Costs for demolition, extensive grading, retaining walls, steps, permits, outdoor kitchens, fire pits, lighting, and irrigation system modifications are typically quoted separately.
- Biggest Question to Resolve: What is the condition of your site? The amount of demolition, grading, and base preparation required to create a stable, properly drained foundation is the most significant variable that a written quote will address. For a broader look at designing your outdoor space, see our complete guide to patio planning.
Understanding Your Paver Patio Project Scope
When you receive a quote for a paver patio, you are looking at a multi-layered system, not just a pile of stones. Each layer is critical for the longevity and stability of the finished surface. A low bid that cuts corners on these foundational steps can lead to sinking, shifting, and water problems down the line. It's helpful to visualize the project from the ground up.
First, the area is excavated to a specific depth, typically between six and ten inches, depending on soil type and intended use. The native soil is then graded to ensure water flows away from your home's foundation and compacted to create a solid subgrade. Next comes the base, which is the most important structural component. In California, contractors often use a Class II base rock, an aggregate of crushed stone that is spread in layers and compacted with a heavy plate compactor. A thick, well-compacted base prevents the pavers from settling or heaving over time.
On top of the compacted base, a thin layer of bedding sand, about one inch deep, is screeded to create a perfectly level surface on which to set the pavers. The pavers are then laid in the desired pattern. After all the pavers are in place, a rigid edge restraint is installed around the perimeter to lock everything together and prevent the pavers from spreading. Finally, fine joint sand is swept into the gaps between the pavers and compacted, which locks them together vertically and completes the interlocking system. Understanding these steps helps you appreciate why a significant portion of the paver patio cost is for labor and materials you will never see.
Hypothetical Paver Patio Cost Scenarios in California
To understand how size and material choices affect the paver patio cost, let's look at three hypothetical planning scenarios. These are not documented projects or market averages; they are illustrative examples based on sourced cost ranges to help you budget. The arithmetic is transparent, and the scenarios exclude site-specific costs like demolition, major grading, or permits.
The following examples use these sourced installation ranges: concrete or brick pavers at $10 to $17 per square foot and natural stone at $16 to $35 per square foot (HomeGuide).
Scenario 1: Basic Concrete Paver Patio
This scenario imagines a small, functional patio for a bistro set or a couple of chairs. The focus is on creating a durable, finished surface with standard materials and a simple design.
- Scope: 150 sq. ft. (10' x 15') rectangular patio
- Materials: Standard concrete pavers
- Assumed Unit Cost: $13 per sq. ft. (low-to-mid range for concrete pavers)
- Hypothetical Calculation: 150 sq. ft. x $13/sq. ft. = $1,950
- Exclusions: This price assumes a perfectly flat and accessible area. It does not include costs for removing an old concrete slab, correcting drainage, or adding features like seating walls.
Scenario 2: Mid-Range Interlocking Paver Patio
This example represents a more common project size, suitable for an outdoor dining area and seating. It uses higher-quality materials and a slightly more complex design, like a colored border or a gentle curve.
- Scope: 320 sq. ft. (16' x 20') patio with a simple border
- Materials: High-quality interlocking concrete pavers
- Assumed Unit Cost: $16 per sq. ft. (upper range for concrete pavers)
- Hypothetical Calculation: 320 sq. ft. x $16/sq. ft. = $5,120
- Exclusions: This estimate does not factor in the cost of building steps down from a house, installing landscape lighting, or addressing a significant slope in the yard.
Scenario 3: Expanded Natural Stone Patio
This high-end scenario pictures a large, multi-zone outdoor living space using premium materials. Natural stone offers a unique, high-end look but comes at a higher price point for both materials and labor, as cutting and fitting stone is more intensive.
- Scope: 500 sq. ft. (20' x 25') patio with an irregular, natural shape
- Materials: Natural stone pavers (e.g., flagstone or travertine)
- Assumed Unit Cost: $25 per sq. ft. (mid-range for natural stone)
- Hypothetical Calculation: 500 sq. ft. x $25/sq. ft. = $12,500
- Exclusions: The cost of a large patio like this is often accompanied by other expenses, such as new landscaping, irrigation adjustments, or engineering plans for retaining walls, which are not included here.
Site Factors That Influence Your California Paver Quote
Ready to compare vetted project options?
Use Project Match privately when your scope is clear enough for contractor conversations.
Start Project MatchThe hypothetical scenarios above assume a perfect worksite, which is rare. A contractor's quote will be based on a thorough assessment of your property. Several common site conditions in California can significantly alter the scope of work and the final paver patio cost.
Access to the Site: How will workers and materials get to your backyard? If the only access is through a narrow side gate or up a flight of stairs, all materials must be moved by wheelbarrow instead of a small tractor. This increases labor hours and, consequently, the price. Limited street parking for equipment and delivery trucks can also add complexity.
Demolition and Removal: Is there an old, cracked concrete slab, a deteriorating deck, or a patch of stubborn lawn where the new patio will go? The demolition, breaking up, and hauling away of these materials require time and disposal fees that are quoted separately from the new installation.
Grading and Drainage: Proper water management is critical. Your yard must be graded so that water flows away from your house's foundation. In relatively flat areas, a subtle slope of about one-quarter inch per foot is created. On hillside properties common in California, more extensive grading, retaining walls, or the installation of French drains may be necessary to manage water runoff and prevent erosion. This is a crucial part of the project that protects your home and your investment.
Soil Conditions: California is home to a variety of soil types, including expansive clays that swell when wet and shrink when dry. Building on such soil requires a deeper, more solid base of compacted aggregate to create a stable foundation that resists movement. A contractor may recommend a thicker base or the use of geotextile fabric for added stability, which will increase material and labor costs.
Utilities and Irrigation: Sprinkler systems, gas lines for a future barbecue, and electrical conduits for lighting often run underground. These utilities may need to be moved, capped, or rerouted before excavation can begin. This work is typically handled by licensed subcontractors and adds to the overall project budget.
Comparing Paver Materials: Concrete, Brick, and Natural Stone
The material you choose for your patio surface is one of the most visible decisions you will make, impacting both the paver patio cost and the long-term aesthetic. Each option offers distinct trade-offs in terms of price, appearance, and performance in the California climate.
Concrete Pavers
By far the most popular choice, concrete pavers are engineered for strength and uniformity. They come in a vast array of shapes, sizes, colors, and textures, allowing for endless design possibilities from a classic brick look to a modern large-format slab. According to HomeGuide, installed costs typically range from $10 to $17 per square foot. Their consistent shape makes for a relatively efficient installation. However, the pigments in colored concrete pavers can fade over time under the intense California sun, though applying a quality sealant can help preserve their color.
Brick Pavers
Clay brick pavers offer a timeless, classic aesthetic. Made from fired clay, they tend to hold their color better than concrete pavers over the long term. They are extremely durable and provide a warm, traditional look. Installation costs are comparable to concrete pavers. Bricks can be more porous, which may make them more susceptible to staining or mildew in shaded, damp corners of a yard, so proper drainage and exposure to sun are beneficial.
Natural Stone Pavers
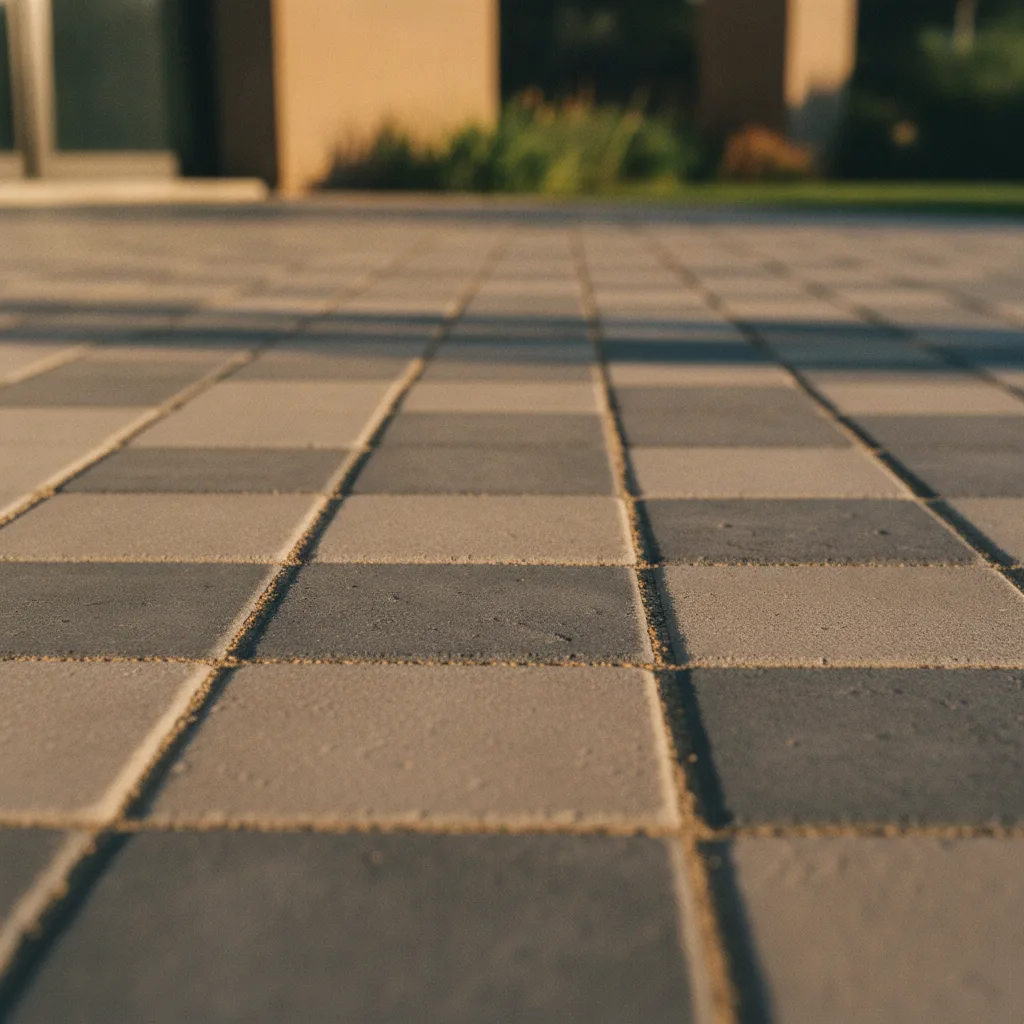
For a premium, one-of-a-kind look, natural stone is unmatched. Options like flagstone, bluestone, limestone, and travertine are quarried from the earth, meaning no two pieces are exactly alike. This beauty and uniqueness come at a higher price; HomeGuide reports installed costs ranging from $16 to $35 per square foot, and sometimes more for rare types. Travertine is a popular choice in warmer parts of California because it stays relatively cool to the touch in direct sun. Flagstone provides a more rustic, irregular pattern. The installation of natural stone is more labor-intensive, as each piece must be individually cut and fitted, contributing to the higher cost.
What to Expect in a Professional Paver Installation Quote
A detailed quote is a roadmap for your project. It should clearly itemize what is included and, just as importantly, what is not. Avoid one-line estimates that simply state a total price. A professional bid will break down the costs associated with each major phase of the work, allowing you to compare offers accurately.
Your quote should include the following components:
- Site Preparation: This line item should specify the depth of excavation and detail any required demolition or removal of existing surfaces. It should also include the cost of disposing of the excavated soil and debris.
- Base Materials and Installation: Look for specifics on the type and depth of the aggregate base material (e.g., "6 inches of compacted Class II base rock") and the bedding sand. This is the foundation of your patio; skimping here leads to future problems.
- Paver Materials: The quote should clearly state the manufacturer, style, and color of the pavers being installed. The cost per square foot for the material itself should be transparent.
- Labor and Installation: This covers the skilled work of laying the pavers, making cuts, installing edge restraints, and compacting the final surface with joint sand.
- Permits: If your project requires a permit from your local city or county (often for larger patios, those with retaining walls, or attached patio covers), the quote should specify who is responsible for securing and paying for it.
- Cleanup: A professional job includes a thorough cleanup of the job site upon completion.
Pay close attention to the section on exclusions. Common items priced separately include extensive drainage solutions (like French drains), landscape lighting, irrigation repairs or adjustments, and sealing the pavers after installation. Clarifying these points upfront prevents surprise costs later.
Planning for Reserves and Ongoing Maintenance
Even with a detailed plan, unexpected issues can arise during an outdoor construction project. the work isn't truly over once the installation is complete. Smart financial planning includes accounting for both immediate unknowns and long-term care.
Optional Reserve Fund
It can be prudent to hold a reserve fund outside of your contract amount. This is not a fee you pay the contractor but a portion of your own budget set aside for unforeseen circumstances. For example, the crew might discover a buried tree stump or an undocumented utility line during excavation that needs to be addressed. Or, you might decide to upgrade your paver choice mid-project. A hypothetical reserve of 10% to 15% of the total contract price can provide a comfortable buffer. For a hypothetical $6,000 project, this would mean setting aside an extra $600 to $900. This is an entirely optional planning choice, not an industry requirement, but it can reduce stress if complications occur.
Ongoing Maintenance Costs
Paver patios are durable, but not completely maintenance-free. To keep your patio looking its best and ensure its longevity, plan for some recurring tasks.
- Cleaning: Regular sweeping and occasional rinsing will keep the surface clear of debris. A deeper cleaning with a pressure washer (on a low setting) may be needed every year or two to remove dirt or mildew.
- Joint Sand: The sand in the joints can wash out over time. It should be topped off every two to three years to keep the pavers locked tightly in place and to discourage weed growth.
- Weed Control: Weeds don't grow through pavers, but they can sprout in the joint sand. Using polymeric sand (which hardens when wet) can significantly reduce this, but some manual weeding or application of a weed killer may still be necessary.
- Sealing: Applying a quality sealant every three to five years is highly recommended in California. It helps protect pavers from stains and, most importantly, from UV rays that can cause colors to fade. The cost to seal a patio is a fraction of the installation cost and is a worthwhile investment.
Contractor Quote Checklist: Key Questions to Ask
When you meet with potential contractors, having a list of specific questions will help you gather the information you need to make a confident decision. A reputable professional will be happy to provide detailed answers. Use this checklist to compare the scope and services offered in each bid.
- Is this a fixed-price contract or a time-and-materials estimate?
- What is the exact depth of the excavation and the final compacted thickness of the aggregate base? (Look for at least four to six inches for pedestrian patios).
- What specific type of base material will you be using?
- Does the quote include the cost of demolition and hauling away my existing deck or concrete slab?
- How will you protect my existing lawn, plants, and structures during construction?
- What type of edge restraint (e.g., plastic, concrete, aluminum) is included in the price?
- What is the warranty on the paver materials and on your installation labor?
- Does your company handle the permit process, or is that my responsibility?
- How will the patio design address drainage and direct water away from my house?
- Is the cost of applying a sealant to the finished patio included in this quote?
- What is the estimated timeline for the project, from start to finish?
- Who is responsible for locating and marking underground utility lines before digging?
- Does your proposal include all final cleanup and removal of project debris?
- Can you provide proof of your California contractor's license and general liability insurance?
How to Compare Paver Patio Bids
After you have collected two or three detailed bids, the real work of comparison begins. The lowest price is not always the best value, especially with a project where the most critical work is buried underground. Your goal is to choose the bid that offers the best long-term solution for your property.
First, resist the temptation to look at the bottom-line number. Instead, create a simple spreadsheet to compare the key specifications from each quote side-by-side. Pay closest attention to the depth of the base preparation. A contractor who quotes for a six-inch compacted base is offering a more durable, stable foundation than one who only plans for three inches. The thicker base will cost more in materials and labor, but it is the single most important factor in preventing future sinking and shifting.
Next, check the exclusions. Does one bid seem significantly lower because it omits demolition, debris removal, or permit fees? Make sure you are comparing equivalent scopes of work. If a key item is missing, ask the contractor for a revised quote that includes it so you can make an accurate comparison.
Finally, vet the contractors themselves. Verify that their license is active and in good standing with the California Contractors State License Board (CSLB). Ask for references from recent projects in your area and, if possible, go see their work in person. A well-built paver patio should have tight joints, clean lines, and a smooth, even surface. Choosing a qualified, experienced, and communicative contractor is just as important as choosing the right materials.
Frequently Asked Questions About Paver Patio Costs
Here are answers to some common questions homeowners have when planning a paver patio project in California.
How much does a paver patio cost in California?
A paver patio installation in California typically costs between $10 and $35 per square foot. According to HomeGuide, standard concrete or brick pavers run $10 to $17 per square foot, while premium natural stone costs $16 to $35. The final price depends heavily on site accessibility, required prep work, and material choice.
For a hypothetical 400-square-foot patio, this translates to a planning range of $4,000 to $6,800 for concrete pavers or $6,400 to $14,000 for natural stone. These figures are for the patio itself and do not include costs for demolition, major grading, retaining walls, or other site-specific work. Always get a detailed quote based on an on-site evaluation for an accurate price.
Is a paver patio cheaper than a poured concrete slab?
A basic poured concrete slab is generally less expensive upfront than a paver patio. However, pavers offer long-term advantages that can offset the initial cost difference. The primary benefit is repairability. If a paver becomes stained or cracked, you can replace a single unit. If a concrete slab cracks, patching is often visible and replacing the entire slab is very expensive.
Pavers also provide more design flexibility with a wide range of colors, shapes, and patterns. the joints between pavers allow for slight movement, making them less prone to cracking from minor soil shifts or seismic activity compared to a rigid concrete slab. Some paver types can also be installed as a permeable surface, which helps with water drainage.
Do I need a permit for a paver patio in California?
For a simple, on-grade paver patio, a permit is often not required in many California jurisdictions. However, the rules can change quickly if your project includes other elements. You will likely need a permit if the patio is raised, part of a deck structure, includes a retaining wall over a certain height (often 3-4 feet), or has a permanent cover like a pergola or roof attached to the house.
Because regulations vary significantly between cities and counties, you must confirm the requirements with your local building department. Do not rely on general advice. A qualified contractor should be familiar with local codes and can guide you on whether your specific design requires a permit.
Can I install a paver patio myself to save money?
Installing a paver patio yourself can save a significant amount on labor costs, but it is an extremely physically demanding project that requires careful planning and specialized tools. The most critical and difficult step for a DIYer is achieving proper excavation, grading, and base compaction. Failure to create a stable, well-drained base will cause the patio to sink and shift within a few years.
You will need to rent a heavy plate compactor to properly densify the aggregate base, as hand tamping is not sufficient. You also need to be able to accurately level the sand bed and make precise cuts to the pavers. While DIY is possible for small, simple projects, hiring a professional is often worth the investment for the expertise and equipment they bring, ensuring a durable and long-lasting result.
How long does a professionally installed paver patio last?
A paver patio built to industry standards can last for 30 to 50 years or even longer. The longevity of the patio is almost entirely dependent on the quality of its foundation. A thick, well-compacted base and proper drainage are essential to prevent settling and movement. The pavers themselves, whether concrete or stone, are incredibly durable and can withstand heavy foot traffic and weather.
To maximize the lifespan of your patio, some minor maintenance is required. This includes periodically topping off the joint sand, cleaning the surface, and applying a sealant every few years to protect against staining and color fading from the sun. With proper installation and care, a paver patio is a very long-term improvement to your home.
Sources & Methodology
See the Golden Yards Methodology for how sources are reviewed, ranges are normalized, and planning-data limits are handled.
The cost ranges in this guide are based on publicly available information. The hypothetical scenarios, calculations, and budget examples are illustrative planning tools and are not based on documented projects, surveys, or invoices from Golden Yards Magazine. Homeowners should obtain written quotes from qualified local contractors for an accurate assessment of their specific project costs.
- HomeGuide provided installed cost ranges for concrete, brick, and natural stone pavers. These figures were used as the basis for the hypothetical scenarios in this article.
Golden Yards Magazine Take
When planning for your paver patio cost, focus your attention on the work that happens below the surface. The beauty of the pavers you choose is important, but the stability and longevity of your investment depend entirely on the unseen foundation. A low bid is often a red flag that a contractor may be cutting corners on the depth of excavation or the thickness of the compacted base. Before you commit, ask each contractor to detail their base preparation process in writing. Compare the shell, the surrounding site work, and the equipment as separate lines. A patio built on a solid foundation will provide decades of enjoyment, while one built on a weak base will become a source of frustration and costly repairs.
Ready to start your patio project?
Find My ProsFrequently Asked Questions
How much does a paver patio cost in California?
A paver patio installation in California typically costs between $10 and $35 per square foot. According to HomeGuide, standard concrete or brick pavers run $10 to $17 per square foot, while premium natural stone costs $16 to $35. The final price depends heavily on site accessibility, required prep work, and material choice.
For a hypothetical 400-square-foot patio, this translates to a planning range of $4,000 to $6,800 for concrete pavers or $6,400 to $14,000 for natural stone. These figures are for the patio itself and do not include costs for demolition, major grading, retaining walls, or other site-specific work. Always get a detailed quote based on an on-site evaluation for an accurate price.
Is a paver patio cheaper than a poured concrete slab?
A basic poured concrete slab is generally less expensive upfront than a paver patio. However, pavers offer long-term advantages that can offset the initial cost difference. The primary benefit is repairability. If a paver becomes stained or cracked, you can replace a single unit. If a concrete slab cracks, patching is often visible and replacing the entire slab is very expensive.
Pavers also provide more design flexibility with a wide range of colors, shapes, and patterns. Additionally, the joints between pavers allow for slight movement, making them less prone to cracking from minor soil shifts or seismic activity compared to a rigid concrete slab. Some paver types can also be installed as a permeable surface, which helps with water drainage.
Do I need a permit for a paver patio in California?
For a simple, on-grade paver patio, a permit is often not required in many California jurisdictions. However, the rules can change quickly if your project includes other elements. You will likely need a permit if the patio is raised, part of a deck structure, includes a retaining wall over a certain height (often 3-4 feet), or has a permanent cover like a pergola or roof attached to the house.
Because regulations vary significantly between cities and counties, you must confirm the requirements with your local building department. Do not rely on general advice. A qualified contractor should be familiar with local codes and can guide you on whether your specific design requires a permit.
Can I install a paver patio myself to save money?
Installing a paver patio yourself can save a significant amount on labor costs, but it is an extremely physically demanding project that requires careful planning and specialized tools. The most critical and difficult step for a DIYer is achieving proper excavation, grading, and base compaction. Failure to create a stable, well-drained base will cause the patio to sink and shift within a few years.
You will need to rent a heavy plate compactor to properly densify the aggregate base, as hand tamping is not sufficient. You also need to be able to accurately level the sand bed and make precise cuts to the pavers. While DIY is possible for small, simple projects, hiring a professional is often worth the investment for the expertise and equipment they bring, ensuring a durable and long-lasting result.
How long does a professionally installed paver patio last?
A paver patio built to industry standards can last for 30 to 50 years or even longer. The longevity of the patio is almost entirely dependent on the quality of its foundation. A thick, well-compacted base and proper drainage are essential to prevent settling and movement. The pavers themselves, whether concrete or stone, are incredibly durable and can withstand heavy foot traffic and weather.
To maximize the lifespan of your patio, some minor maintenance is required. This includes periodically topping off the joint sand, cleaning the surface, and applying a sealant every few years to protect against staining and color fading from the sun. With proper installation and care, a paver patio is a very long-term improvement to your home.