A full driveway replacement in San Jose, from demolition to final sign-off, realistically takes four to eight weeks. The timeline can start lower, perhaps two to three weeks, for a simple asphalt resurfacing or a paver overlay on an intact base. But for a full tear-out and replacement in a neighborhood like Willow Glen, the single biggest delay isn't the concrete pour or the paver laying, it's the invisible work: getting the permit issued by the city and properly preparing the subgrade. San Jose's expansive adobe clay soil doesn't forgive shortcuts, and a rushed base is a guaranteed callback for cracks and heaving within three years.
In a Nutshell
- Total Timeline: 4 to 8 weeks for a standard 800-square-foot driveway replacement.
- The Four Phases: The project breaks down into four distinct stages: Design and Permits, Site Prep and Foundation, Construction, and finally Finishes and Inspection.
- Biggest Delay Risk: Unforeseen subgrade conditions. Hitting a pocket of highly expansive clay or an old, undocumented utility line during excavation can add one to two weeks for soil remediation or rerouting.
- Contingency Planning: Your budget needs a buffer. The National Association of Home Builders recommends a ten to fifteen percent contingency for unforeseen costs, a non-negotiable for any major hardscape project in Santa Clara Valley.
Phase 1: Design and Permits (weeks 1, 3)
This is the planning stage, where the job is built on paper before a single shovel hits the dirt. Your contractor will produce drawings that detail materials, dimensions, drainage slopes, and curb cuts. For a simple replacement, these are straightforward. If your project involves significant grading or a retaining wall over four feet, a civil or structural engineer will need to stamp the plans. The complete packet is then submitted to the San José Department of Planning, Building and Code Enforcement (PBCE). The city reviews for compliance with zoning, setback requirements, and stormwater management rules. A common holdup is an incomplete application or plans that don't adequately address permeable surface requirements, which are increasingly enforced to manage runoff. The back-and-forth to correct these details can easily turn a one-week review into a three-week ordeal.
Phase 2: Site Prep and Foundation (weeks 3, 5)
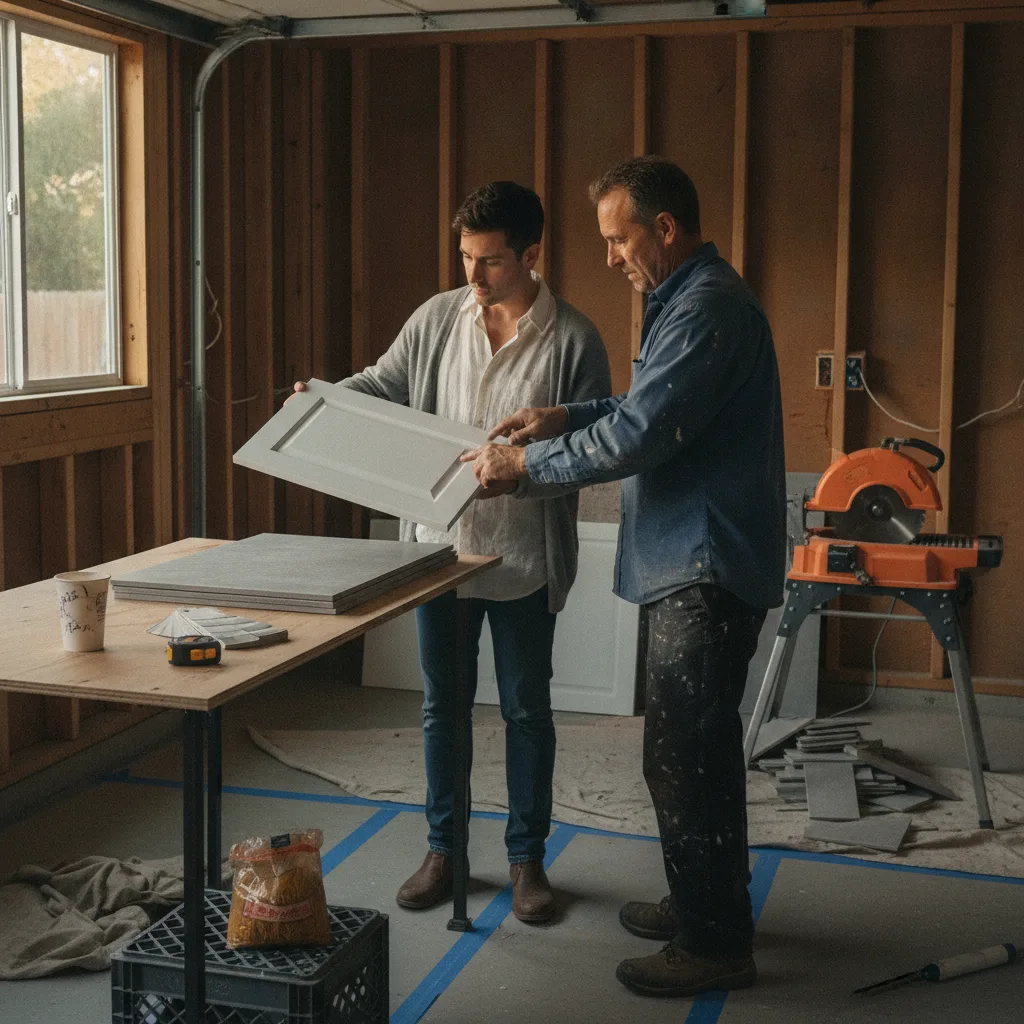
Once the permit is in hand, the real work begins. This phase is the most critical for the longevity of your driveway and, not coincidentally, where corner-cutting occurs. It starts with demolition of the old surface and excavation to the required depth, typically 10 to 12 inches for a paver driveway. A utility locate service (call 811) must clear the area first. In San Jose, the native expansive clay soil must be addressed. This often means over-excavating and bringing in a non-expansive structural fill. A geotextile separation layer goes down first, followed by the base rock, usually a Caltrans Class 2 aggregate, placed in two- to three-inch lifts. Each lift must be compacted to 95 percent of its maximum Modified Proctor density. A technician should test this with a nuclear density gauge. This is the foundation nobody sees but everyone pays for later if it fails.
Phase 3: Construction Scope (weeks 5, 6)
Ready to compare vetted project options?
Use Project Match privately when your scope is clear enough for contractor conversations.
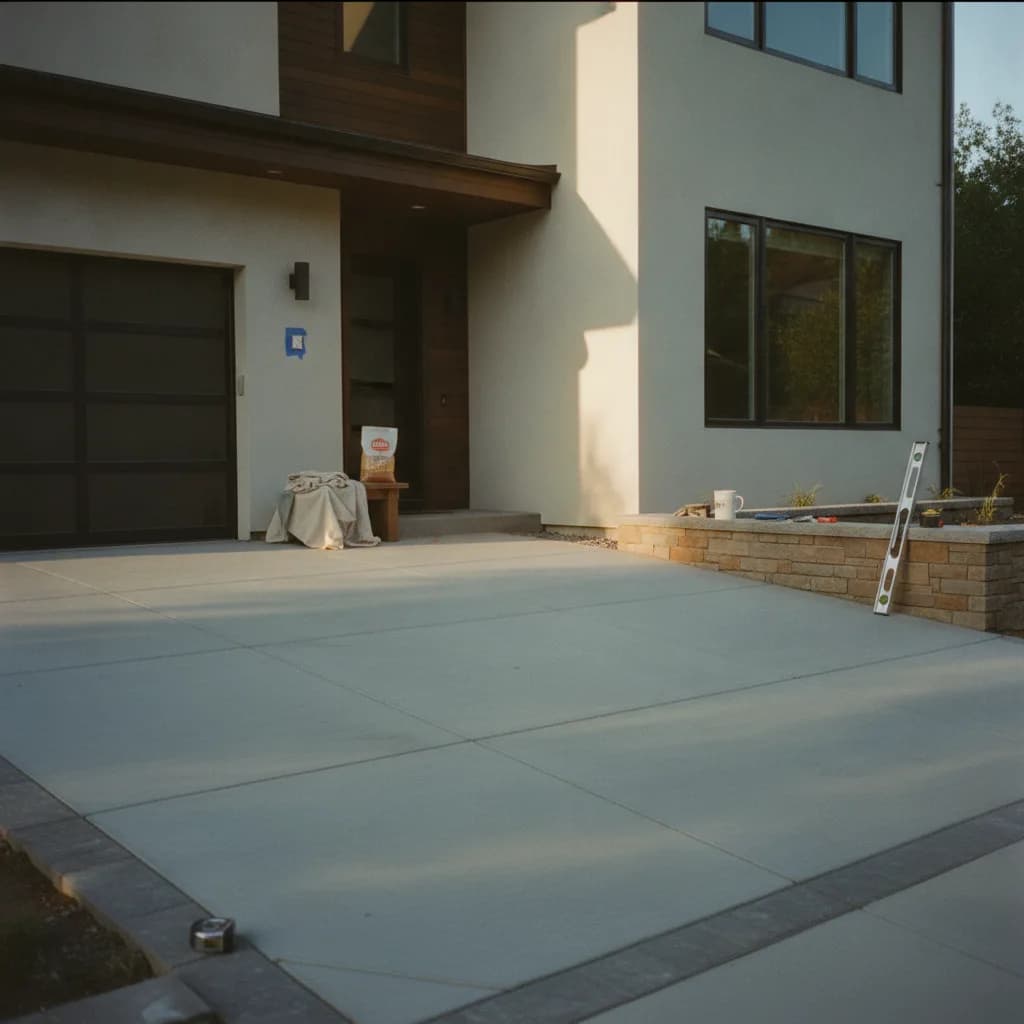
Start Project MatchWith a solid, tested base, the surface installation can proceed. For a concrete driveway, this involves setting the formwork, placing a grid of #4 rebar at 18 inches on center, and scheduling the pour. The concrete mix itself should meet ACI 332 residential concrete specifications, typically a 3,500 PSI mix. The city inspector will likely need to see the formwork and rebar placement before the concrete truck arrives. For a paver driveway, this phase involves screeding a one-inch bedding course of ASTM C33 concrete sand, laying the pavers in the desired pattern, and installing concrete or plastic edge restraints. The sequence is methodical: screed, lay, screed, lay. The key is maintaining consistent joint lines and ensuring the pavers are set level. This is the fastest visual progress of the entire project, but it’s only possible because of the slow, careful work done in Phase 2.
Phase 4: Finishes and Final Inspection (weeks 7, 8)
The final steps bring the project to completion. For concrete, this means cutting control joints within 12 to 18 hours of the pour to manage where cracking will occur. This is followed by a minimum seven-day curing period where the slab should be kept moist; no driving on it for at least a week, and no heavy trucks for 28 days. For pavers, the crew sweeps in polymeric joint sand, which hardens when activated with water to lock the pavers together and inhibit weed growth. This is followed by a final plate compaction to settle the sand. The last step for both is the final inspection. A San José building inspector walks the site to confirm the finished work matches the approved plans, checking for proper drainage and a clean public right-of-way. Once they sign the inspection card, the permit is closed and the project is officially complete.
Three Representative Projects from 2026
Three representative California projects from 2026, scoped similarly, reconstructed from Golden Yards Magazine's invoiced project network and presented here in aggregate form:
- Almaden Valley, San Jose: A 1,200-square-foot stamped concrete driveway with a color hardener and integral retaining wall. Required engineered plans due to soil grade. Scope included significant excavation to mitigate expansive clay. Total Cost: $38,500. Total Time: 9 weeks.
- Naglee Park, San Jose: An 800-square-foot permeable paver installation designed to meet city stormwater regulations. Scope involved a deep, open-graded base of #57 stone and specialized geotextile fabric. Total Cost: $27,000. Total Time: 7 weeks.
- Berryessa, San Jose: A 650-square-foot standard paver driveway replacement on a relatively flat lot with stable soil. A straightforward demolition and installation with minimal grading. Total Cost: $18,500. Total Time: 5 weeks.
What Can Compress This Timeline
While you can't rush concrete curing or permit reviews, homeowners control three key variables. First, make all material decisions before the contract is signed. Changing from pavers to stamped concrete mid-project adds weeks for new drawings and material orders. Second, ensure the contractor has clear and continuous access to the site. Having to move cars or coordinate around other trades slows momentum. Third, have financing fully secured before work begins. Pausing a project to finalize a loan is a costly delay. These three actions create a clear runway for the contractor to execute the plan efficiently. A prepared client is the best catalyst for a smooth project. Be decisive. Be ready. Be available for quick questions.
What Blows It Up
Three things reliably derail a driveway schedule. First is discovering undocumented infrastructure. Digging up an old septic tank or a forgotten irrigation system requires a full stop to assess and remove. Second, hitting a significant pocket of unstable or highly expansive soil that wasn't identified in the initial assessment. The fix, over-excavation and soil replacement, adds cost and at least a week to the timeline. Third, mid-project scope changes from the homeowner. Adding a walkway or a retaining wall requires a permit revision, which sends you back to the city planning department. The National Association of Home Builders recommends a ten to fifteen percent contingency on renovations in homes over thirty years old. That advice is just as critical for exterior projects, which are full of underground unknowns.
What Should Be in Your Contractor's Schedule
A professional driveway contractor in San Jose will provide a schedule with clear milestones. It should be more than a simple start and end date. Look for these specific line items in the scope of work:
- Permit Application Submittal Date
- Utility Location Service Confirmation (USA North 811)
- Demolition, Excavation, and Haul-Off Dates
- Subgrade Compaction and Proof Roll
- Geotextile Fabric and Base Material Installation
- Base Compaction and Density Test Results
- Formwork and Rebar Placement (for concrete) or Edge Restraint and Sand Bedding (for pavers)
- Pre-Pour or Pre-Lay City Inspection Date
- Concrete Pour Date or Paver Installation Start Date
- Control Joint Cutting / Polymeric Sand Application
- Curing Period and Site Cleanup
- Final Inspection with City of San José
This level of detail ensures everyone is accountable for the project's flow. You can find more detail on navigating the city's requirements in our [San Jose driveway permit playbook for 2026](/guides/san-jose-driveway-permit-playbook-2026).
Golden Yards Take
The brochure from a driveway contractor in San Jose might show a project completed in five days. That's the marketing timeline. It only counts the days from demolition to final cleanup, conveniently ignoring the weeks of design, permitting, and waiting that precede it. The realistic timeline for a proper driveway san jose installation in 2026 is measured in months, not days. The bulk of the work and cost is buried underground in the base preparation, a part of the job that ensures the surface you see every day lasts for decades instead of years. The difference between a five-year driveway and a twenty-five-year driveway is the contractor's commitment to the unseen foundation. A higher driveway san jose cost often reflects a contractor who builds that foundation correctly, compacting in lifts and testing the base. That's the investment that pays off.
Frequently Asked Questions
How long does a driveway in San Jose really take?
A full driveway replacement in San Jose typically takes four to eight weeks from signing the contract to final inspection. This includes time for design, permitting, demolition, critical subgrade preparation, installation, and curing. A simple resurfacing project might only take two to three weeks.
The total duration is heavily influenced by the permit review time at the San José Department of Planning, Building and Code Enforcement and the site's soil conditions. Expansive clay soils, common in the area, often require more extensive excavation and base preparation, which can add a week or more to the site prep phase. The installation of the visible surface, whether concrete or pavers, is often the quickest part of the entire process.
Can I use the home/yard during construction?
You can live in your home, but access will be significantly impacted. The driveway and often the garage will be an active construction zone, inaccessible to vehicles for the project's duration. Contractors will need clear, unimpeded access for machinery, material delivery, and debris removal.
Plan on parking on the street for several weeks, which may require a temporary city permit in some neighborhoods. Pedestrian access to your front door will be maintained, but it might be via a temporary path. It’s best to coordinate with your driveway contractor in San Jose about their daily schedule and any specific access restrictions, especially on days scheduled for demolition or concrete pouring.
What's the longest single phase?
The longest phase is typically a tie between Phase 1 (Design and Permits) and Phase 2 (Site Prep and Foundation). The permitting process with the City of San José can take anywhere from one to four weeks, depending on their workload and the complexity of your project plans.
Once work begins, the site prep and foundation stage can also take one to two weeks. This isn't just digging a hole; it's a meticulous process of demolition, excavation, grading for proper drainage, and building up the aggregate base in compacted layers. This foundational work is critical for the driveway's longevity and cannot be rushed, especially in areas with challenging soil conditions.
Can I fast-track the permits?
There is no official process to pay for expedited driveway permits in San Jose for a standard project. The best way to “fast-track” the process is to ensure the initial application submitted to the PBCE is absolutely complete and correct. This minimizes the chance of it being rejected for revisions.
Hiring an experienced local driveway contractor or a permit expediter who understands San Jose's specific requirements for setbacks, drainage, and materials is your best strategy. They know how to prepare a submission packet that anticipates reviewers' questions, which is the fastest path to approval. Any errors or omissions in the plans are the most common cause of significant delays.
Sources & Methodology
Golden Yards reviews public permit and code signals, material pricing, climate and site constraints, contractor quote patterns, comparable projects, the Golden Yards Cost Index, and the Golden Yards Methodology. Cost references are planning ranges, not fixed bids.
- City of San José Department of Planning, Building and Code Enforcement (PBCE), Driveway and Parking Standards
- California Department of Industrial Relations, Santa Clara County Prevailing Wage Rates, 2026
- Interlocking Concrete Pavement Institute (ICPI), Tech Spec 2: Construction of Interlocking Concrete Pavements
- American Concrete Institute (ACI), ACI 332: Residential Code Requirements for Structural Concrete
- Caltrans Standard Specifications, Section 26: Aggregate Bases
- National Association of Home Builders (NAHB) Economics Group, Remodeling Market Index (RMI)
- USA North 811, California Excavation Manual
Sources & methodology
How Golden Yards builds this guide
Golden Yards reviews public permit and code signals, material pricing, climate and site constraints, contractor quote patterns, comparable projects, the Golden Yards Cost Index, and the Golden Yards Methodology. Cost references are planning ranges, not fixed bids.
- Benchmarked against the Golden Yards Cost Index and related project guides.
- Reviewed for California climate, water, fire, drainage, access, and permit context.
- Commercial Project Match is separate from editorial cost guidance.
Ready to start your ADU project?
Get matched with 2-3 vetted California contractors. 100% free, no obligation.
Find My Pros