A new concrete patio in Malibu can start as low as $12,000 for a simple, ground-level refresh on a condo in the Malibu Colony Plaza area. But for a typical 600-square-foot project on a hillside lot with ocean views, the realistic budget for a concrete patio in Malibu for 2026 is between $25,000 and $45,000. The final cost is a function of access, geology, and engineering, not just square footage.
In a Nutshell
- Expect to pay $40 to $75 per square foot. The price reflects complex site work, premium materials required for coastal durability, and high local labor rates.
- The foundation is everything. Success isn't about the decorative finish. It's about the geotechnical report, the subgrade compaction, and the drainage plan.
- Permitting is not optional. The City of Malibu and the California Coastal Commission have strict requirements for grading, drainage, and impervious surfaces that add time and cost.
- Material specs matter more here. Salt air and hillside soils demand specific, non-negotiable upgrades like epoxy-coated rebar and engineered concrete mixes.
- Hire a local pro. A general contractor won't do. You need a concrete patio contractor in Malibu with a C-8 license and a portfolio of completed projects within the city limits.
Concrete Patio Malibu Cost in 2026
For a standard-finish, broom-swept concrete patio on a flat, accessible lot, the baseline cost is around $40 per square foot. This price climbs quickly with the addition of hillside grading, retaining walls, decorative stamping, integral color, or poor site access. For complex projects requiring significant earthwork and engineering, costs can exceed $100 per square foot.
Three representative projects from 2026, scoped similarly, reconstructed from Golden Yards Magazine's Project of the Day network and used here in aggregate form:
- The Point Dume Refresh ($18,500): A 400-square-foot replacement of a cracked, older patio on a relatively flat lot. The project involved demolition, re-grading the subgrade, and pouring a new 4-inch slab with a simple salt finish. Access was good.
- The Carbon Beach Hillside ($42,000): A new 600-square-foot patio requiring a short concrete block retaining wall and engineered footings. The scope included a geotechnical report, a new drainage system tied into existing lines, and an integral color concrete mix with epoxy-coated rebar.
- The Broad Beach Overlook ($85,000): A 900-square-foot multi-level patio with a built-in gas fire pit, seat walls, and extensive low-voltage lighting conduits. The project required significant engineering due to its proximity to a coastal bluff, demanding deep caissons and a structural slab.
Why Is a Concrete Patio More Expensive in Malibu?
The premium for a concrete patio in Malibu isn't just about the view. It's driven by four factors: geology, regulation, labor, and materials. The area's active landslides and expansive clay soils mean nearly every project starts with a soils report. Access to sites in the steep canyons or along Pacific Coast Highway is often restricted, increasing labor time for material transport. According to the California Department of Industrial Relations prevailing wage data for Los Angeles County, skilled labor rates are among the highest in the state. Finally, the marine environment demands corrosion-resistant materials, adding a direct cost premium to the build.
Your Malibu Concrete Patio Project: A Step-by-Step Guide
Ready to compare vetted project options?
Use Project Match privately when your scope is clear enough for contractor conversations.
Start Project MatchA successful project follows a strict sequence. Skipping a step is the most common cause of premature failure and contractor callbacks.
Step 1: Geotechnical and Structural Engineering
Why: This report analyzes the soil's stability and bearing capacity, informing the engineer's foundation design. Watch out for any contractor who says this is optional on a Malibu hillside; they are exposing you to immense risk.
Step 2: Design and Permitting
Why: Your design must be approved by the City of Malibu's Planning and Building Safety departments before any work begins. Watch out for designs that add too much impervious surface area, as this can trigger complex and costly stormwater management requirements.
Step 3: Demolition and Excavation
Why: The site must be excavated to a precise depth to accommodate the full thickness of the base material and the concrete slab itself. Watch out for buried irrigation lines, septic systems, or utility conduits that weren't on the original site plans.
Step 4: Subgrade Preparation and Compaction
Why: The native soil is the ultimate foundation, and it must be stable and properly graded for drainage away from the home. Watch out for contractors who don't use a plate compactor to achieve subgrade compaction to 95 percent Modified Proctor; this is the specification that prevents future sinking and cracking.
Step 5: Install Geotextile and Base Material
Why: A geotextile separation layer prevents the base rock from mixing with the clay subgrade, maintaining drainage and stability over time. Watch out for crews dumping base rock directly onto soil, a shortcut that leads to a settled, cracked slab within a few years.
Step 6: Forms, Rebar, and Sleeves
Why: Forms create the patio's shape, while a grid of steel rebar provides the tensile strength concrete lacks. Watch out for standard black steel rebar; in coastal Malibu, the salt air corrodes it, leading to spalling, so the spec must call for epoxy-coated #5 rebar at 16 inches on center.
Step 7: Pour, Finish, and Place Control Joints
Why: The pour is the main event, where the specified concrete mix (typically a 3,500 PSI mix for patios) is placed, consolidated, and finished. Watch out for an improperly planned pour on a hot, windy day, which can cause the surface to dry too fast, resulting in plastic shrinkage cracks before the concrete even cures.
Step 8: Curing and Sealing
Why: Curing is the multi-day chemical process where concrete gains its strength, and it requires consistent moisture. Watch out for a slab that's left to dry out; it must be kept moist with curing compounds or water for at least seven days to reach its design strength per the ACI 332 residential concrete spec.
Hiring a Concrete Patio Contractor in Malibu
Finding the right contractor is critical. Start by verifying they hold a current C-8 Concrete license from the California Contractors State License Board (CSLB). Ask for at least three references for projects completed within Malibu in the last two years. A contractor familiar with the city's permitting process can save you months of delays. They should understand the local geology and why a standard pour that works in Sherman Oaks will fail in Point Dume.
When you get to the scope-lock phase, make sure every material specification is in writing, from the PSI of the concrete mix to the type of rebar. This is also the time to review your local building codes. Our [Malibu concrete patio permit playbook for 2026](/guides/malibu-concrete-patio-permit-playbook-2026) provides a detailed guide to navigating the city's requirements.
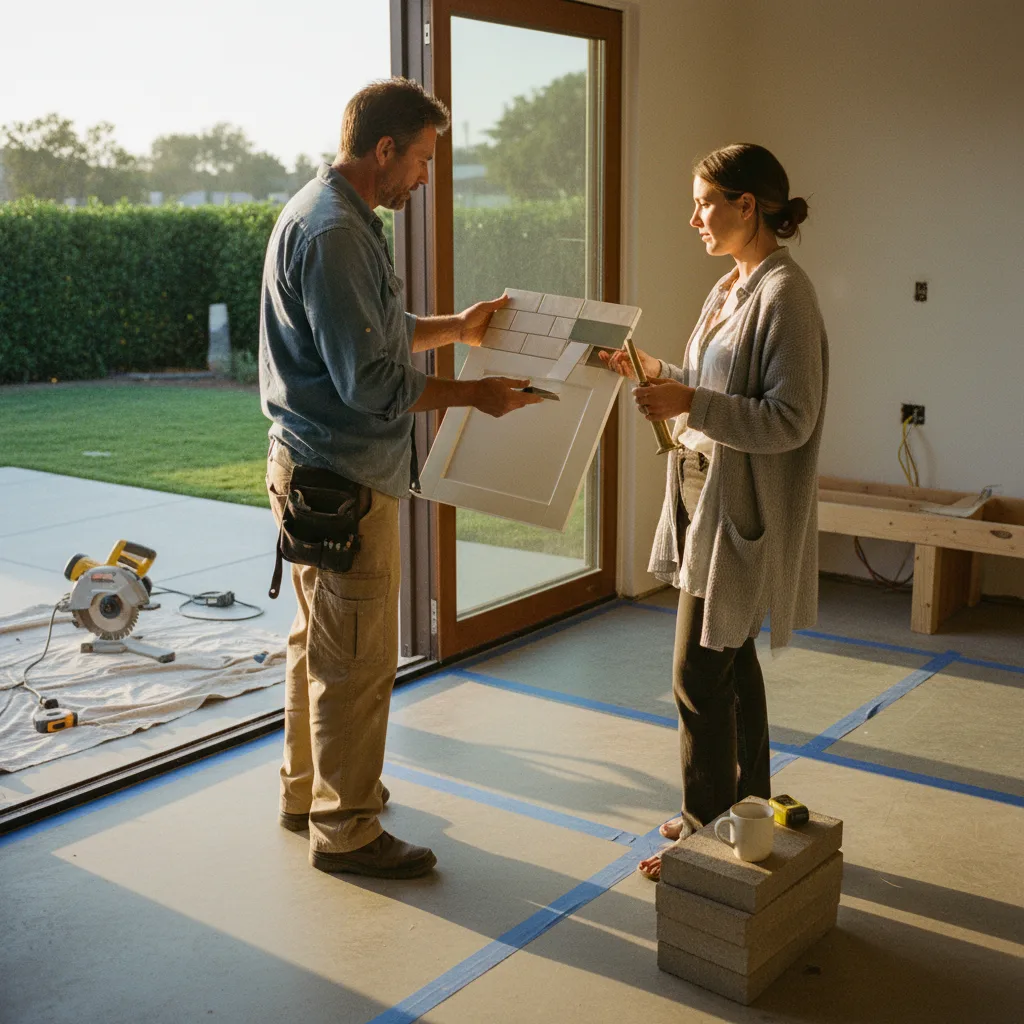
A qualified contractor will insist on pulling the permit themselves. Compact in lifts. Test the base. Pull the permit before the pour. This discipline is what separates a professional installation from a future liability.
What Can Go Wrong? (And How to Budget for It)
The most common issues for a Malibu concrete patio project are surprises below the surface. Excavation might reveal undocumented fill soil or large boulders, requiring costly removal and soil replacement. Heavy rains can destabilize slopes, causing delays or requiring additional shoring. Permit reviews, especially those involving the Coastal Commission, can extend for months beyond initial estimates. For these reasons, a healthy contingency fund is not just advisable, it's essential. The National Association of Home Builders recommends a ten to fifteen percent contingency on renovations in homes over thirty years old.
Project Checklist
- Phase 1: Planning & Design
- [ ] Hire a licensed C-8 contractor with local Malibu experience.
- [ ] Commission a geotechnical report if on a slope or unstable soil.
- [ ] Secure a structural engineering plan based on the soils report.
- [ ] Finalize design, including finish, color, and features.
- [ ] Submit plans to the City of Malibu for permit approval.
- Phase 2: Site Work & Foundation
- [ ] Verify demolition and excavation to specified depth.
- [ ] Confirm subgrade is compacted to 95% Modified Proctor.
- [ ] Ensure geotextile fabric is laid before the base rock.
- [ ] Check that the base is composed of proper #57 stone, not road base.
- Phase 3: Pour & Finish
- [ ] Inspect formwork and rebar (epoxy-coated) placement before the pour.
- [ ] Confirm concrete delivery ticket matches the specified PSI mix.
- [ ] Ensure control joints are cut at the correct depth and spacing.
- [ ] Verify a proper seven-day wet cure is maintained.
- [ ] Confirm application of a high-quality penetrating sealer after curing.
The Golden Yards Magazine Take
The defining feature of a Malibu concrete project isn't the final stamped pattern or the shade of integral color. It's the disciplined, often invisible, adherence to geotechnical and coastal engineering principles. Homeowners get fixated on the surface, but the callbacks we see are almost always rooted five feet below it. The contractor who wants to skip the soils report to give you a cheaper bid is not saving you money; they are setting you up for a slab that will crack and settle as the hillside inevitably moves. The real investment is in the over-engineered rebar schedule, the geotextile fabric, and the extra yard of #57 stone. You are not building on solid ground; you are building on a dynamic coastal landscape. Build accordingly.
Frequently Asked Questions
How long does a concrete patio last in Malibu?
A properly installed concrete patio in Malibu should last 25 to 30 years or more. Longevity depends entirely on factors beneath the surface: a stable, compacted subgrade, proper drainage, and the use of corrosion-resistant, epoxy-coated rebar to combat the coastal salt air. A patio built without these considerations can show major cracks or spalling in as little as five years.
The key is building for the specific environmental stresses of Malibu. This includes using a concrete mix with a lower water-to-cement ratio for density and specifying air entrainment to handle moisture. Regular cleaning and re-applying a high-quality sealer every three to five years is also critical to protect the surface from salt and prevent moisture intrusion, extending its functional lifespan significantly.
What kind of concrete finish is best for a coastal climate?
A salt finish or a light broom finish are excellent choices for coastal climates like Malibu. Both provide good slip resistance, which is crucial in areas with morning dew or near pools, and their subtle textures are effective at hiding minor imperfections and salt residue. These finishes are durable and do not trap moisture like some deeper stamped patterns might.
While stamped or heavily textured finishes can be beautiful, they can be more challenging to keep clean in a salty environment. Salt and debris can accumulate in the grooves, requiring more frequent pressure washing. For oceanfront properties, a smoother, denser finish combined with a high-performance penetrating sealer offers the best defense against salt-ion penetration, which is the primary cause of rebar corrosion and spalling.
Do I need a permit for a concrete patio in Malibu?
Yes, you almost certainly need a permit for a new concrete patio in Malibu. The City of Malibu requires permits for grading, any work on slopes, and the creation of new impervious surfaces. Given the area's geological sensitivity and strict coastal regulations, even replacing an existing patio often requires a permit to ensure compliance with current drainage and building codes.
Failing to secure a permit can result in stop-work orders, fines, and the potential need to demolish the unpermitted work. Your licensed contractor should handle the entire permitting process with the City of Malibu Building Safety Division. The plans will be reviewed for structural integrity, drainage, and compliance with zoning and California Coastal Commission requirements, which have significant oversight in Malibu.
What is the difference between stamped concrete and pavers?
Stamped concrete is a single, continuous slab of poured concrete that is textured or imprinted to mimic materials like stone, brick, or wood. Interlocking pavers are individual, factory-made units of concrete or clay that are laid on a bed of sand over a compacted aggregate base. The primary difference is monolithic versus segmental construction.
Stamped concrete offers a smooth, solid surface that is very durable if installed correctly, but repairs can be difficult to blend in. Pavers offer flexibility; they can shift without cracking if the ground settles, and individual units can be replaced easily if stained or broken. In areas with expansive clay soil, the flexibility of a paver system can be an advantage over a rigid concrete slab.
Sources & Methodology
Golden Yards reviews public permit and code signals, material pricing, climate and site constraints, contractor quote patterns, comparable projects, the Golden Yards Cost Index, and the Golden Yards Methodology. Cost references are planning ranges, not fixed bids.
Ready to start your patio project?
Find My ProsFrequently Asked Questions
How long does a concrete patio last in Malibu?
A properly installed concrete patio in Malibu should last 25 to 30 years or more. Longevity depends entirely on factors beneath the surface: a stable, compacted subgrade, proper drainage, and the use of corrosion-resistant, epoxy-coated rebar to combat the coastal salt air. A patio built without these considerations can show major cracks or spalling in as little as five years. The key is building for the specific environmental stresses of Malibu. This includes using a concrete mix with a lower water-to-cement ratio for density and specifying air entrainment to handle moisture. Regular cleaning and re-applying a high-quality sealer every three to five years is also critical to protect the surface from salt and prevent moisture intrusion, extending its functional lifespan significantly.
What kind of concrete finish is best for a coastal climate?
A salt finish or a light broom finish are excellent choices for coastal climates like Malibu. Both provide good slip resistance, which is crucial in areas with morning dew or near pools, and their subtle textures are effective at hiding minor imperfections and salt residue. These finishes are durable and do not trap moisture like some deeper stamped patterns might. While stamped or heavily textured finishes can be beautiful, they can be more challenging to keep clean in a salty environment. Salt and debris can accumulate in the grooves, requiring more frequent pressure washing. For oceanfront properties, a smoother, denser finish combined with a high-performance penetrating sealer offers the best defense against salt-ion penetration, which is the primary cause of rebar corrosion and spalling.
Do I need a permit for a concrete patio in Malibu?
Yes, you almost certainly need a permit for a new concrete patio in Malibu. The City of Malibu requires permits for grading, any work on slopes, and the creation of new impervious surfaces. Given the area's geological sensitivity and strict coastal regulations, even replacing an existing patio often requires a permit to ensure compliance with current drainage and building codes. Failing to secure a permit can result in stop-work orders, fines, and the potential need to demolish the unpermitted work. Your licensed contractor should handle the entire permitting process with the City of Malibu Building Safety Division. The plans will be reviewed for structural integrity, drainage, and compliance with zoning and California Coastal Commission requirements, which have significant oversight in Malibu.
What is the difference between stamped concrete and pavers?
Stamped concrete is a single, continuous slab of poured concrete that is textured or imprinted to mimic materials like stone, brick, or wood. Interlocking pavers are individual, factory-made units of concrete or clay that are laid on a bed of sand over a compacted aggregate base. The primary difference is monolithic versus segmental construction. Stamped concrete offers a smooth, solid surface that is very durable if installed correctly, but repairs can be difficult to blend in. Pavers offer flexibility; they can shift without cracking if the ground settles, and individual units can be replaced easily if stained or broken. In areas with expansive clay soil, the flexibility of a paver system can be an advantage over a rigid concrete slab.