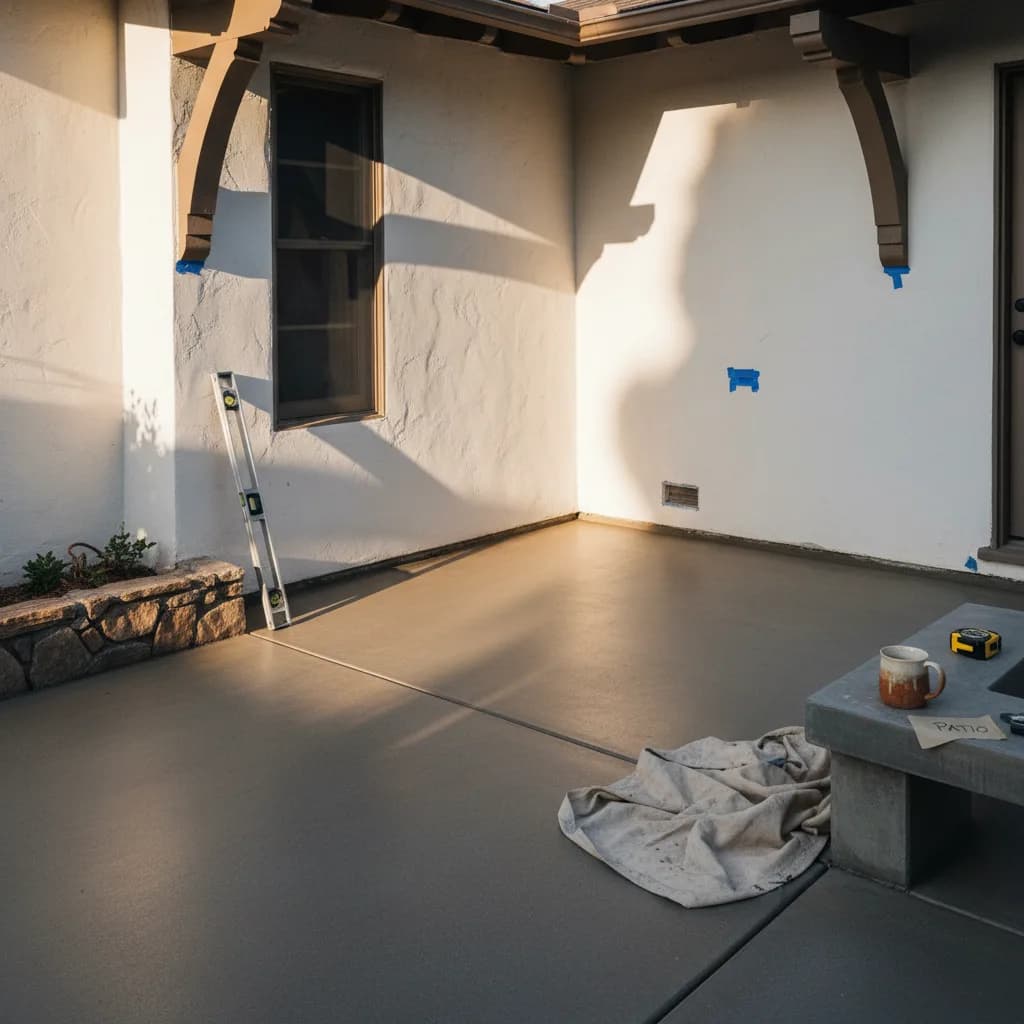
A concrete patio in Pasadena isn’t just about the mix and the finish. It’s a battle against the ground itself. The expansive clay soils from Bungalow Heaven to Madison Heights will lift and crack a poorly planned slab within five years. The intense summer heat of the San Gabriel Valley complicates the cure, turning a simple pour into a high-stakes race against evaporation. Getting it right means focusing on the unseen work: the subgrade, the base, and the reinforcement. This is the difference between a callback next summer and a patio that outlasts the mortgage.
In a Nutshell
- Cost Range: A professionally installed concrete patio in Pasadena typically costs between $18 and $35 per square foot in 2026, depending on access, finish, and site conditions.
- Timeline: Plan for three to five weeks from start to finish for a standard 500-square-foot project. Most of that time is dedicated to excavation, base preparation, and curing, not the pour itself.
- Key Challenge: Properly engineering the project to handle Pasadena's expansive clay soils and high summer temperatures is critical for preventing heaving and surface cracks.
- Permits: A simple slab-on-grade patio often does not require a permit from the City of Pasadena Building & Safety Division, but projects over 30 inches in height, covered by a roof, or exceeding lot coverage limits will.
Why a Concrete Patio in Pasadena is More Expensive Than You Think
The total concrete patio pasadena cost is driven by three factors: labor, materials, and site preparation. While a simple 200-square-foot broom-finish patio for a condo refresh can start lower, most projects in single-family homes involve significant prep work that pushes the price per square foot into the mid-twenties or higher. Labor is the largest component. According to the California Department of Industrial Relations prevailing wage data for Los Angeles County, skilled concrete finishers and masons command high hourly rates, which are reflected in contractor bids. Materials, including 4,000 PSI concrete mix, #4 rebar, and the crucial open-graded base rock, have seen steady price increases. Finally, site-specific challenges like limited access for machinery in older neighborhoods or the need to over-excavate expansive soil add significant hours and cost to the job.
Concrete Patio Pasadena Cost: Three Scenarios for 2026
Three representative projects from 2026, scoped similarly, reconstructed from Golden Yards Magazine's Project of the Day network and used here in aggregate form:
- $9,000: The Bungalow Heaven Basic. A 300-square-foot rectangular patio with a standard broom finish. The cost covers demolition of old pavers, excavation for a proper base, a four-inch slab with wire mesh reinforcement, and basic cleanup. This is a functional, durable surface built to code.
- $22,500: The Madison Heights Entertainer. A 600-square-foot patio with a colored, stamped concrete finish mimicking natural stone. This project includes a thicker six-inch base of #57 stone, #4 rebar reinforcement, integrated drainage, and a high-quality sealer to protect the color from UV damage.
- $45,000+: The Linda Vista Integrated Hardscape. An 800-square-foot multi-level patio featuring a mix of finishes, including sandblasted sections and a poured-in-place fire pit. The scope involves significant grading, engineered footings for a future pergola, low-voltage lighting conduits, and connections to gas lines managed by Pasadena Water and Power (PWP). The National Association of Home Builders recommends a ten to fifteen percent contingency on renovations in homes over thirty years old.
Step 1: Define Your Scope and Check Zoning
Ready to compare vetted project options?
Use Project Match privately when your scope is clear enough for contractor conversations.
Start Project MatchBefore you call a single contractor, define what you need. Measure the area. Decide on the finish (broom, salt, stamped, exposed aggregate). Consider how it connects to the house and yard. Then, do a preliminary check with the City of Pasadena's planning department. A simple, detached slab-on-grade under 30 inches tall is usually exempt from permits. But if you plan to add a cover, attach it to the house, or build retaining walls, a permit is almost certain. This initial diligence prevents expensive changes later.
Why: A clear scope prevents budget creep and ensures your design complies with local zoning codes for setbacks and lot coverage.
Watch out for: Assuming a project is exempt from permits can lead to a stop-work order and costly retroactive permitting.
Step 2: Vet and Hire a Concrete Patio Contractor
Get at least three bids from licensed contractors. In California, they must hold a C-8 Concrete license. Verify their license and insurance on the Contractors State License Board (CSLB) website. Ask for references in Pasadena or nearby communities like Altadena and San Marino. A quality bid for a pasadena concrete patio will detail the subgrade prep, base thickness, concrete PSI, and reinforcement schedule. It will not be a one-line estimate. Once you select a contractor, insist on a detailed contract that specifies the scope, materials, payment schedule, and timeline. This is also the time to finalize the permit strategy; you can learn more in our Pasadena concrete patio permit playbook for 2026.
Why: Proper vetting ensures you hire a qualified professional who understands local soil conditions and builds to a durable standard, not just the minimum code.
Watch out for: The lowest bid often cuts corners on the subgrade and base, which is where failures begin.
Step 3: Subgrade and Base Preparation (The Real Work)
This is where your patio is truly built. The process begins with excavating the native soil, which in much of Pasadena is expansive clay. Your contractor should remove at least eight to ten inches of material. The exposed subgrade must then be graded for drainage (a quarter-inch of fall per foot) and compacted to 95 percent Modified Proctor density. A non-woven geotextile separation fabric is laid down, followed by a minimum four-inch layer of open-graded base, typically #57 stone. This base layer is then compacted in lifts to create a stable, free-draining foundation that isolates the slab from the volatile soil beneath.
Why: A compacted, open-graded base provides a stable platform and prevents water from pooling under the slab, which mitigates damage from expansive soil.
Watch out for: Contractors who dump four inches of gravel and run a plate compactor over it once are not building a proper base; it must be compacted in two-inch lifts.
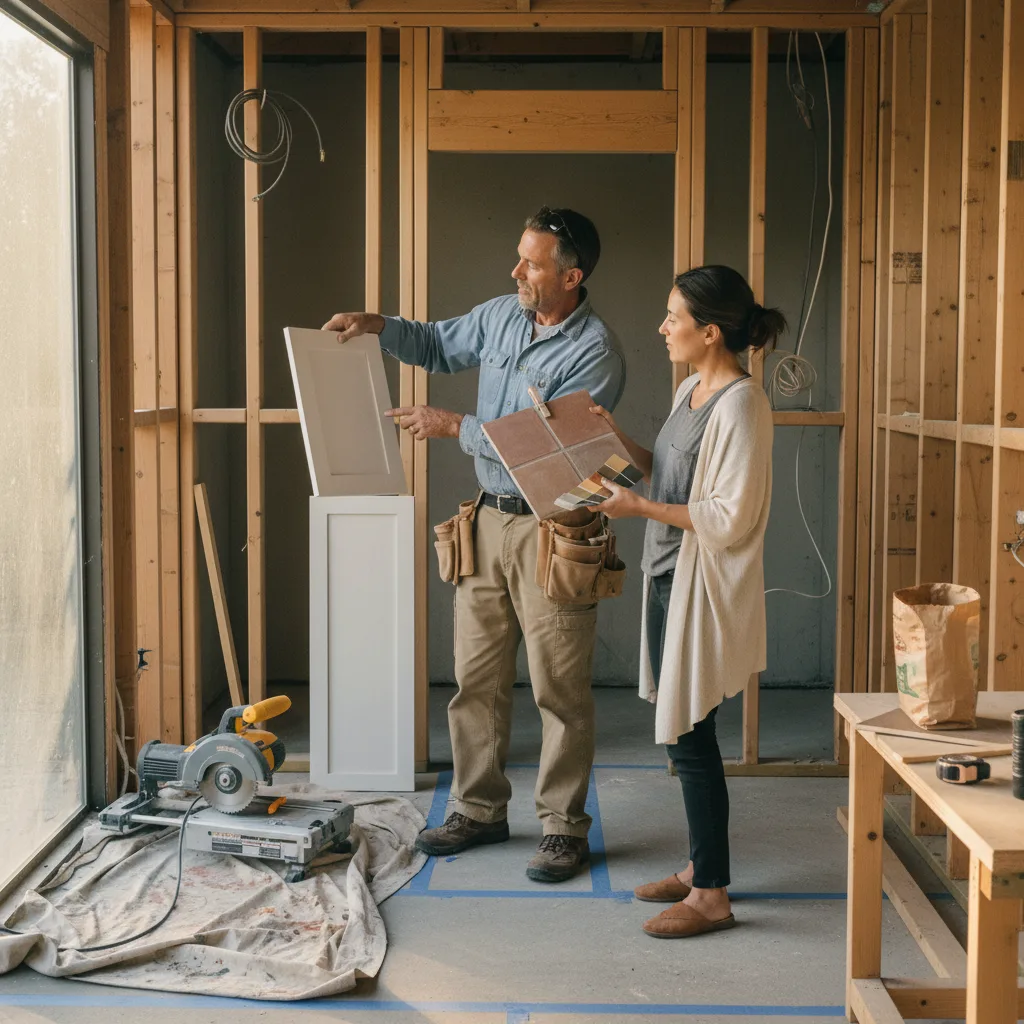
Step 4: Forming, Reinforcement, and Pouring
With the base prepared, forms are set to define the patio's shape. Inside the forms, a grid of #4 rebar should be placed at 18 inches on center, improved on plastic chairs so it sits in the middle of the slab's thickness, not on the bottom. This reinforcement is critical for crack control in a seismic zone. A vapor barrier (10-mil minimum) is often placed directly on the base to slow moisture loss during curing. The concrete itself should be a 4,000 PSI mix with an air-entraining admixture for durability. The pour should be scheduled for the coolest part of the day, especially from June to September, to manage the curing process.
Why: Steel reinforcement and proper placement are non-negotiable for resisting the tensile forces that cause cracking from soil movement and thermal expansion.
Watch out for: Rebar or wire mesh laid directly on the gravel base offers zero structural benefit and is a sign of an amateur crew.
Step 5: Finishing and Curing (Patience Pays Off)
Once the concrete is poured and screeded level, the finishing process begins. Whether it’s a simple broom finish for texture or a complex stamping pattern, timing is everything. After the surface is finished, the most critical phase begins: curing. In Pasadena's dry heat, an evaporative retardant or curing compound must be sprayed on the surface immediately to lock in moisture. The slab needs to stay moist for at least seven days to reach its design strength. Control joints must be cut within 12 to 18 hours of the pour, at a depth of one-quarter the slab's thickness and spaced no more than ten feet apart. These planned cracks dictate where the slab will relieve stress.
Why: A slow, controlled cure is essential for concrete to develop maximum strength and durability; rapid drying leads to a weak, porous surface prone to spalling.
Watch out for: Skipping the curing compound and just hosing down the slab a few times is insufficient and invites surface defects.
Your Pasadena Concrete Patio Project Checklist
- Define Scope: Finalize dimensions, finish, and features.
- Check Zoning: Confirm setback and lot coverage rules with Pasadena's planning department.
- Hire a Pro: Get three bids from C-8 licensed contractors. Check references and insurance.
- Sign a Detailed Contract: Specify base prep, concrete PSI, reinforcement, and payment schedule.
- Verify Base Prep: Ensure proper excavation, compaction, and use of a geotextile layer.
- Inspect Reinforcement: Confirm rebar is improved on chairs before the pour.
- Manage the Cure: Insist on a curing compound and keep traffic off the slab for at least seven days.
Sources & Methodology
See the Golden Yards Methodology for how sources are reviewed, ranges are normalized, and planning-data limits are handled.
Cost ranges in this guide draw on the following named industry sources, public agency datasets, and Golden Yards Magazine editorial research.
- City of Pasadena Building & Safety Division, Residential Construction Guidelines (2025)
- American Concrete Institute (ACI) 332, Residential Code Requirements for Structural Concrete (2024)
- ASTM C33 / C33M, Standard Specification for Concrete Aggregates (2023)
- California Department of Industrial Relations, Los Angeles County Prevailing Wage Determinations (2026)
- National Association of Home Builders (NAHB) Home Remodeling Index (Q1 2026)
- Interlocking Concrete Pavement Institute (ICPI) Tech Spec 2, Construction of Interlocking Concrete Pavements (2023)
Golden Yards Magazine Take
Homeowners planning a concrete patio in Pasadena naturally focus on the visible elements: the color, the stamp, the sleek finish. But the long-term success of any concrete patio pasadena 2026 project is determined by the parts you will never see again after the pour. The investment in an extra two inches of #57 stone base, the use of a geotextile fabric, and the insistence on compacting the subgrade in lifts are what separate a twenty-five-year patio from one that develops trip hazards and spiderweb cracks by its third summer. The best concrete patio contractor pasadena has to offer will spend more time preparing the ground than finishing the slab. Your job is to find that contractor and pay for their expertise, because the ground always wins in the end.
Ready to start your patio project?
Find My ProsFrequently Asked Questions
How long does a concrete patio last in Pasadena?
A well-built concrete patio in Pasadena lasts 25 to 30 years or more. Its lifespan depends on quality subgrade preparation, proper steel reinforcement, and controlled curing to resist cracking from expansive soils. A patio built to ACI 332 specifications with a four-to-six-inch compacted base will achieve this full lifespan.
The key failure points for a concrete patio are almost always underground, especially given Pasadena's expansive clay soils and temperature swings. A slab poured on poorly compacted soil or an inadequate base will crack under the stress of soil movement. Likewise, if steel rebar is not correctly positioned within the slab, it provides no structural benefit. Adhering to ACI 332 residential concrete specifications by focusing on these unseen but critical steps is what prevents premature failure and ensures durability.
Do I need a permit for a concrete patio in Pasadena?
No, you typically do not need a permit for a standard, on-grade concrete patio in Pasadena. However, the City of Pasadena Building & Safety Division requires a permit if the patio has a solid cover, is more than 30 inches above the ground, is attached to the foundation, or includes retaining walls over four feet tall.
Permit requirements are triggered by features beyond a simple ground-level slab. A permit is necessary if the patio surface is more than 30 inches above the adjacent ground, is attached to your home's foundation, or includes a solid cover. Projects with retaining walls over four feet in height, measured from the bottom of the footing, also need permits.
Additionally, extensive grading or the installation of electrical and gas lines will require city approval. If the patio is part of a larger project, like an ADU, it will be included under that primary permit. It is always best to confirm specific requirements with the city's planning department before starting work.
What is the best finish for a concrete patio in the San Gabriel Valley?
For a concrete patio in the San Gabriel Valley, a light-colored, broom-finished surface is the best practical choice. It offers excellent slip resistance, stays cooler in the sun, and is cost-effective. For pool areas, a salt finish provides superior traction. Always apply a quality penetrating sealer to protect against the Southern California sun.
The best finish balances aesthetics with safety and heat resistance. While stamped concrete offers more design options, it can be more slippery and absorbs more heat, especially with darker integral colors. For poolside safety, a salt finish or a sandblasted texture provides superior, barefoot-friendly traction. Regardless of the chosen finish, applying a high-quality penetrating sealer is crucial. This protects the surface from stains and UV degradation, extending the life of the patio and making it easier to clean.
How do I prevent my concrete patio from cracking?
Prevent concrete patio cracks with a stable base, steel rebar reinforcement, control joints, and a controlled cure. The base must be compacted, free-draining gravel. Place steel rebar in the middle of the slab's thickness. Cut control joints every eight to ten feet to direct cracking, and cure the concrete slowly.
A failure in any of these four areas can compromise the entire slab. The compacted gravel base isolates the concrete from soil movement, while steel rebar handles tensile stress. Control joints are crucial because they create weakened planes, allowing the concrete to crack in a predictable line as it shrinks and moves. Finally, curing the slab slowly with a chemical compound prevents the surface from drying too quickly, which is a primary cause of random shrinkage cracks.
Can I pour a concrete patio over expansive clay soil?
Yes, you can pour a concrete patio, but never directly onto the soil. In Pasadena, native expansive clay will swell and shrink, guaranteeing slab failure. The correct method requires over-excavating the clay by at least eight to twelve inches and replacing it with a compacted, engineered base to isolate the concrete.
This engineered base creates a stable, non-reactive platform for the concrete. The process begins by laying a geotextile fabric to separate the native soil from the new stone. Next, a thick layer of structural fill or open-graded rock, such as #57 stone, is added. This new base material must be compacted in lifts. This preparation isolates the patio from the volatile clay soil, providing the stability needed for a long-lasting surface.