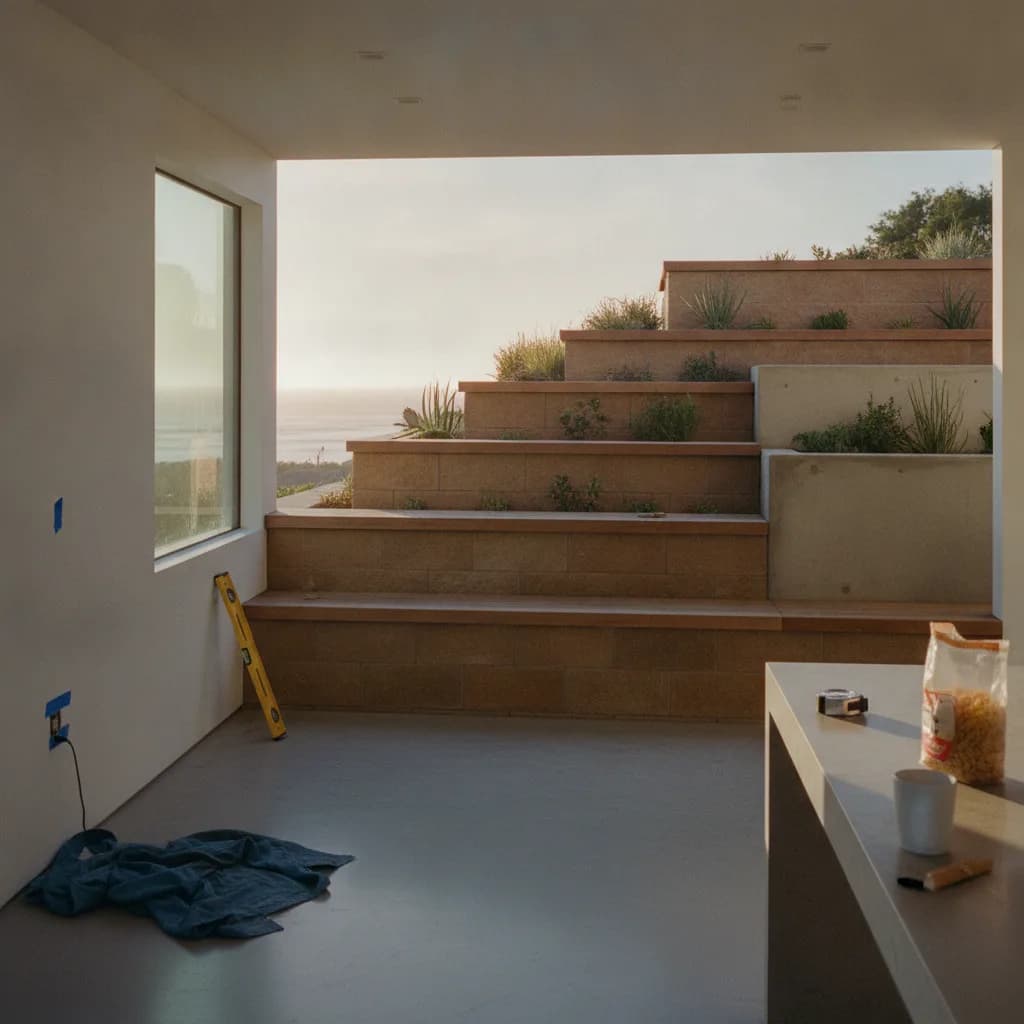
Building a retaining wall in Malibu isn't like building a garden wall in the flatlands. On these coastal hillsides, a wall is a serious piece of civil engineering. Get it right, and it silently protects your property for a generation. Get it wrong, and you’re looking at a callback that involves an excavator and a lawsuit. The conversation starts not with stone veneer, but with a geotechnical report and an engineer's stamp. This is about managing the immense pressure of saturated earth, one cubic yard at a time.
In a Nutshell
- Start with Science: A geotechnical soil report is the mandatory first step for any significant retaining wall in Malibu. It defines the engineering requirements.
- Drainage is Everything: The primary cause of wall failure is hydrostatic pressure. Your project's success hinges on a solid system of perforated pipes, open-graded backfill, and geotextile fabric.
- Permits are Non-Negotiable: The City of Malibu has stringent requirements for hillside construction. An unpermitted wall is a tear-down order waiting to happen.
- Engineering Drives Cost: The expense of a Malibu retaining wall is dictated by the depth of its footings and the density of its steel reinforcement, not the cosmetic finish.
- Hire for Hillside Experience: Your contractor needs a specific license (A-General Engineering or C-29 Masonry) and a portfolio of completed, inspected projects on similar coastal slopes.
How to Plan a Retaining Wall in Malibu: A Step-by-Step Guide for 2026
Follow the proper sequence. Do not pour concrete until you have a permit. Do not hire a contractor until you have engineered plans.
Step 1: Commission a Geotechnical Report
Before any design work begins, hire a licensed geotechnical engineer. They will take soil borings from your property to determine soil type, shear strength, and the presence of groundwater. This report is the foundation for everything that follows. Why? The geotech report provides the specific data your structural engineer needs to calculate the forces the wall must resist, from soil pressure to seismic loads. Watch out for: Relying on a neighbor's soil report or an outdated one for your property, as soil conditions can vary significantly over short distances.
Step 2: Engage a Structural Engineer for Design
With the geotechnical report in hand, a licensed civil or structural engineer will design the wall. This includes detailed plans specifying footing dimensions, concrete strength (in PSI), and the size and spacing of steel reinforcement (rebar). Why? These engineered blueprints are a legal requirement for obtaining a building permit and the only way to ensure the wall is designed to safely withstand the calculated loads. Watch out for: Any contractor who claims they can design a structural wall themselves without a licensed engineer's stamp on the plans.
Step 3: Select Materials for Strength and Longevity
Your engineer will specify the core materials, typically either cast-in-place concrete or concrete masonry units (CMUs). For Malibu's coastal environment, the specification must include epoxy-coated #4 or #5 rebar to resist corrosion from salt air. Why? Material selection is a structural decision first and an aesthetic one second; the corrosive marine layer will attack standard rebar, leading to spalling concrete and structural failure over time. Watch out for: A contractor suggesting plain black steel rebar to save money, as this introduces a critical point of failure in a coastal application.
Step 4: Submit for Permits from the City of Malibu
Your engineer or contractor will submit the full package, including the geotechnical report and structural plans, to the City of Malibu Building Safety Division. Projects in the coastal zone may also require review by the California Coastal Commission. Why? A permitted and inspected project ensures the wall is built to current safety codes, protecting your investment and limiting your liability. Watch out for: The common misconception that any wall under four feet tall is exempt from permits; if the wall supports a load or surcharge (like a slope, pool, or driveway), it requires a permit regardless of height.
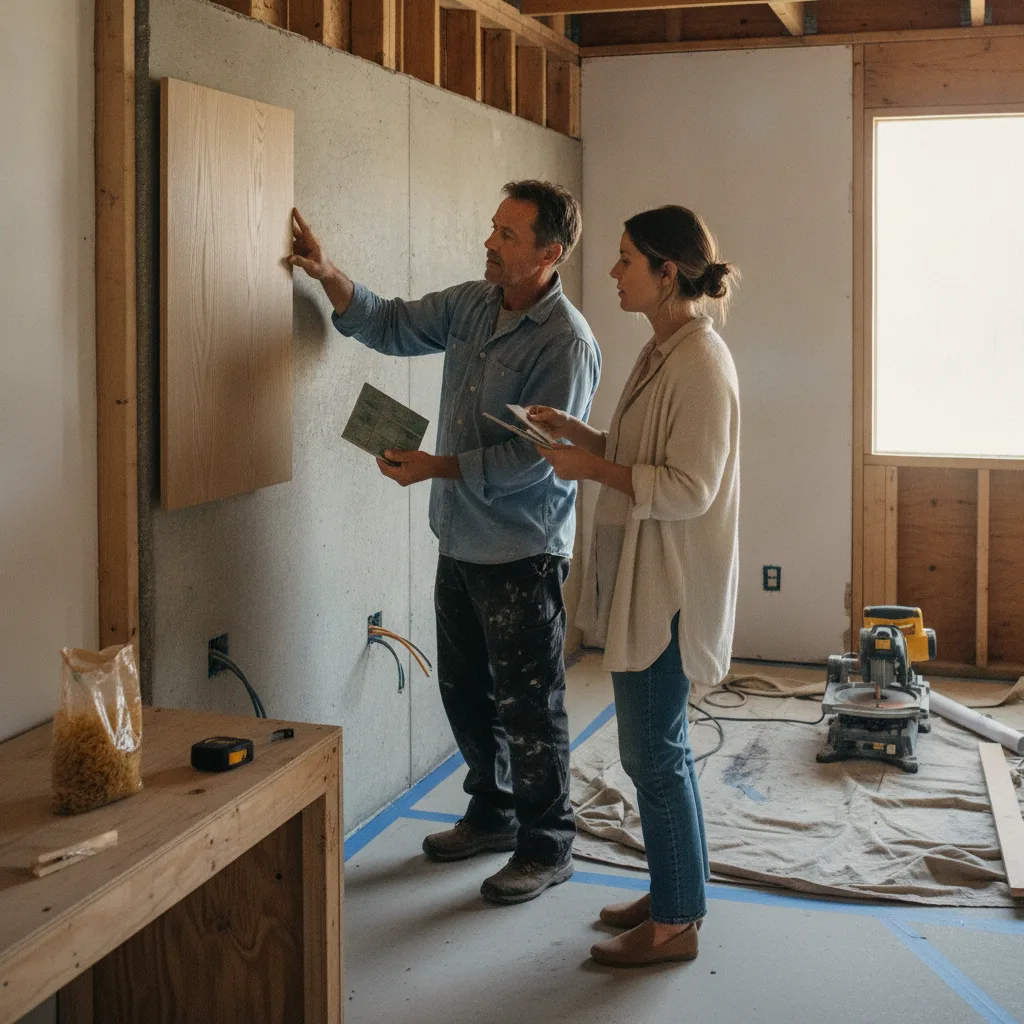
Step 5: Vet and Hire a Licensed Contractor
Seek bids from at least three contractors with the correct California State License Board (CSLB) classification, either a C-29 Masonry license for CMU walls or an A-General Engineering license for large, complex systems. Verify their license, insurance, and bond. Why? Building a structural retaining wall is specialized work, and an experienced hillside contractor will understand the logistics of excavation, shoring, and concrete pumping in difficult-access areas like Point Dume or Broad Beach. Watch out for: An unusually low bid, which often indicates a misunderstanding of the engineered plans or an omission of critical components like the drainage system.
Step 6: Oversee Excavation and Subgrade Preparation
The first phase of construction involves excavating for the wall's footing. The base of the excavation must reach the competent native soil specified by the geotechnical engineer. This subgrade is then compacted before any forms or rebar are placed. Why? The wall's footing transfers the entire load to the ground, and it must rest on solid, undisturbed soil to prevent settling and rotation. Watch out for: Footings poured on loose fill material or improperly compacted soil, which is a leading cause of premature wall failure.
Step 7: Inspect Construction and Drainage Installation
During construction, the city inspector will visit at key milestones, such as footing excavation and rebar placement, before concrete is poured. Pay close attention to the drainage system: a perforated pipe set in a bed of #57 stone, wrapped in a non-woven geotextile filter fabric. Why? This system collects groundwater and channels it away, relieving the hydrostatic pressure that would otherwise buckle or break the wall. Watch out for: Contractors who backfill with native clay soil instead of clean, open-graded gravel, as this will clog the system and render it useless.
Step 8: Manage Backfilling and Final Grading
Once the wall has cured to sufficient strength, the area behind it is backfilled with the specified drainage rock. This material should be placed in "lifts" of eight to twelve inches and compacted with a small plate compactor. Why? Proper backfilling and compaction in controlled lifts prevents future settlement and ensures the drainage system functions as designed. Watch out for: The use of heavy compaction equipment near the new wall, which can exert enough lateral pressure to damage it before it has fully cured.
Why Is a Malibu Retaining Wall More Expensive?
The high cost of a retaining wall in Malibu is a function of three factors: engineering, labor, and access. First, the steep slopes and variable soil conditions necessitate extensive geotechnical analysis and solid structural engineering, which adds significant upfront professional fees. Second, labor rates are among the highest in the state. The California Department of Industrial Relations prevailing wage data for Los Angeles County reflects the high cost of living and the specialized skills required for structural concrete and masonry work. Finally, many properties in areas like Carbon Beach have tight access, requiring smaller equipment, concrete pumping, and more manual labor, all of which increase the project's duration and cost.
What Does a Retaining Wall Cost in Malibu in 2026?
Ready to compare vetted project options?
Use Project Match privately when your scope is clear enough for contractor conversations.
Start Project MatchA structural, engineered retaining wall in Malibu typically costs between $250 and $450 per square face foot, including engineering, permits, and installation. The final price depends on height, soil conditions, and site access. Costs can start lower for simple, non-structural garden walls on level lots, but most Malibu projects involve hillside stabilization which anchors the price at the higher end of the range.
Three representative projects from 2026, scoped similarly, reconstructed from Golden Yards Magazine's Project of the Day network and used here in aggregate form:
- Driveway Support Wall (5 ft. high x 60 ft. long): A cast-in-place concrete wall required to create a stable parking platform. The project involved significant excavation and shoring. Total Cost: $97,500
- Terraced Garden Walls (4 ft. high x 120 ft. total length): Two tiers of CMU block walls to create usable garden space on a gentle slope. Included extensive drainage and waterproofing. Total Cost: $144,000
- Hillside Stabilization Wall (10 ft. high x 80 ft. long): A large-scale cast-in-place concrete retaining wall with deep caisson footings, based on extensive geotechnical recommendations to stabilize a portion of a hillside property. Total Cost: $320,000
How to Avoid Budget Overruns
The most effective way to control costs is to invest in thorough upfront planning. A comprehensive set of engineered plans and a detailed scope of work document allow contractors to bid accurately, minimizing the chance of costly change orders later. Lock in your material choices, from the concrete finish to the type of drainage pipe, before signing a contract. The National Association of Home Builders recommends a ten to fifteen percent contingency on renovations in homes over thirty years old. For a new structural element like a retaining wall, a 10% contingency for unforeseen site conditions, like hitting bedrock during excavation, is prudent.
Finding and Vetting a Retaining Wall Contractor in Malibu
Start by asking for referrals from your structural engineer or local architects. Always verify a contractor's license on the CSLB website and confirm they carry both general liability and worker's compensation insurance. Request at least three references for similar projects completed in the last two years. A good contractor will insist on building only from a set of fully engineered plans and will pull the necessary permits themselves. For a detailed guide on the city's specific requirements, review our Malibu retaining wall permit playbook before you start.
Project Timeline
Brace for a timeline driven by paperwork, not just physical work. For a typical 400-square-foot engineered retaining wall in Malibu, expect a total duration of four to six months. The breakdown is revealing: four to eight weeks for geotechnical investigation and engineering design, eight to sixteen weeks for plan review and permitting by the city, and only four to six weeks for the actual on-site construction. The part you see is the smallest fraction of the total project timeline.
Checklist: Your Malibu Retaining Wall Plan
- Hire a licensed geotechnical engineer.
- Hire a licensed structural engineer to create plans based on the geotech report.
- Submit plans and geotech report to the City of Malibu for permits.
- Get bids from at least three CSLB-licensed and insured contractors.
- Verify contractor's experience with hillside projects.
- Confirm a detailed drainage plan is included in the scope of work.
- Ensure all required city inspections are scheduled and passed.
- Hold final payment until the project has passed its final inspection.
Sources & Methodology
Cost ranges in this guide draw on the following named industry sources, public agency datasets, and Golden Yards Magazine editorial research.
- City of Malibu, Building Safety Division, Retaining Wall Guidelines (2025)
- California State License Board (CSLB), Contractor Classifications (2026)
- American Concrete Institute (ACI) 332-20, Residential Code Requirements for Structural Concrete (2020)
- California Department of Industrial Relations, Los Angeles County Prevailing Wage Data (2026)
- ASTM International, C90 Standard Specification for Loadbearing Concrete Masonry Units (2023)
- National Association of Home Builders (NAHB), Construction Cost Surveys (Q4 2025)
Golden Yards Magazine Take
Homeowners naturally focus on the visible part of a retaining wall: the height, the length, the finish. But the wall you see is just a facade for a water management system. The most common point of failure isn't a lack of concrete strength; it's an improperly designed or installed drainage system that allows hydrostatic pressure to build up behind the wall. The perforated pipe, the filter fabric, the twelve inches of #57 stone backfill, these are the components doing the real work. Think of your retaining wall as a buried dam. Its primary job is to control water. The structure is just there to hold the plumbing in place. Get the water right, and the wall will stand for decades.
Sources & methodology
How Golden Yards builds this guide
Golden Yards reviews public permit and code signals, material pricing, climate and site constraints, contractor quote patterns, comparable projects, the Golden Yards Cost Index, and the Golden Yards Methodology. Cost references are planning ranges, not fixed bids.
- Benchmarked against the Golden Yards Cost Index and related project guides.
- Reviewed for California climate, water, fire, drainage, access, and permit context.
- Commercial Project Match is separate from editorial cost guidance.
Ready to start your driveway project?
Get matched with 2-3 vetted California contractors. 100% free, no obligation.
Find My Pros